Since earning my EEE degree in 2013, I’ve been amazed by the revolution in hardware prototyping driven by Arduino and Raspberry Pi. These platforms have democratised electronics, making them accessible to beginners. Equally fascinating is the evolution of JavaScript, which has grown from merely allowing the creation of dynamic web pages to enabling direct hardware control. Many of these now-commonplace tools were unavailable during my studies, making me envious of today’s newcomers, yet excited for the rapid technological advancements to come.
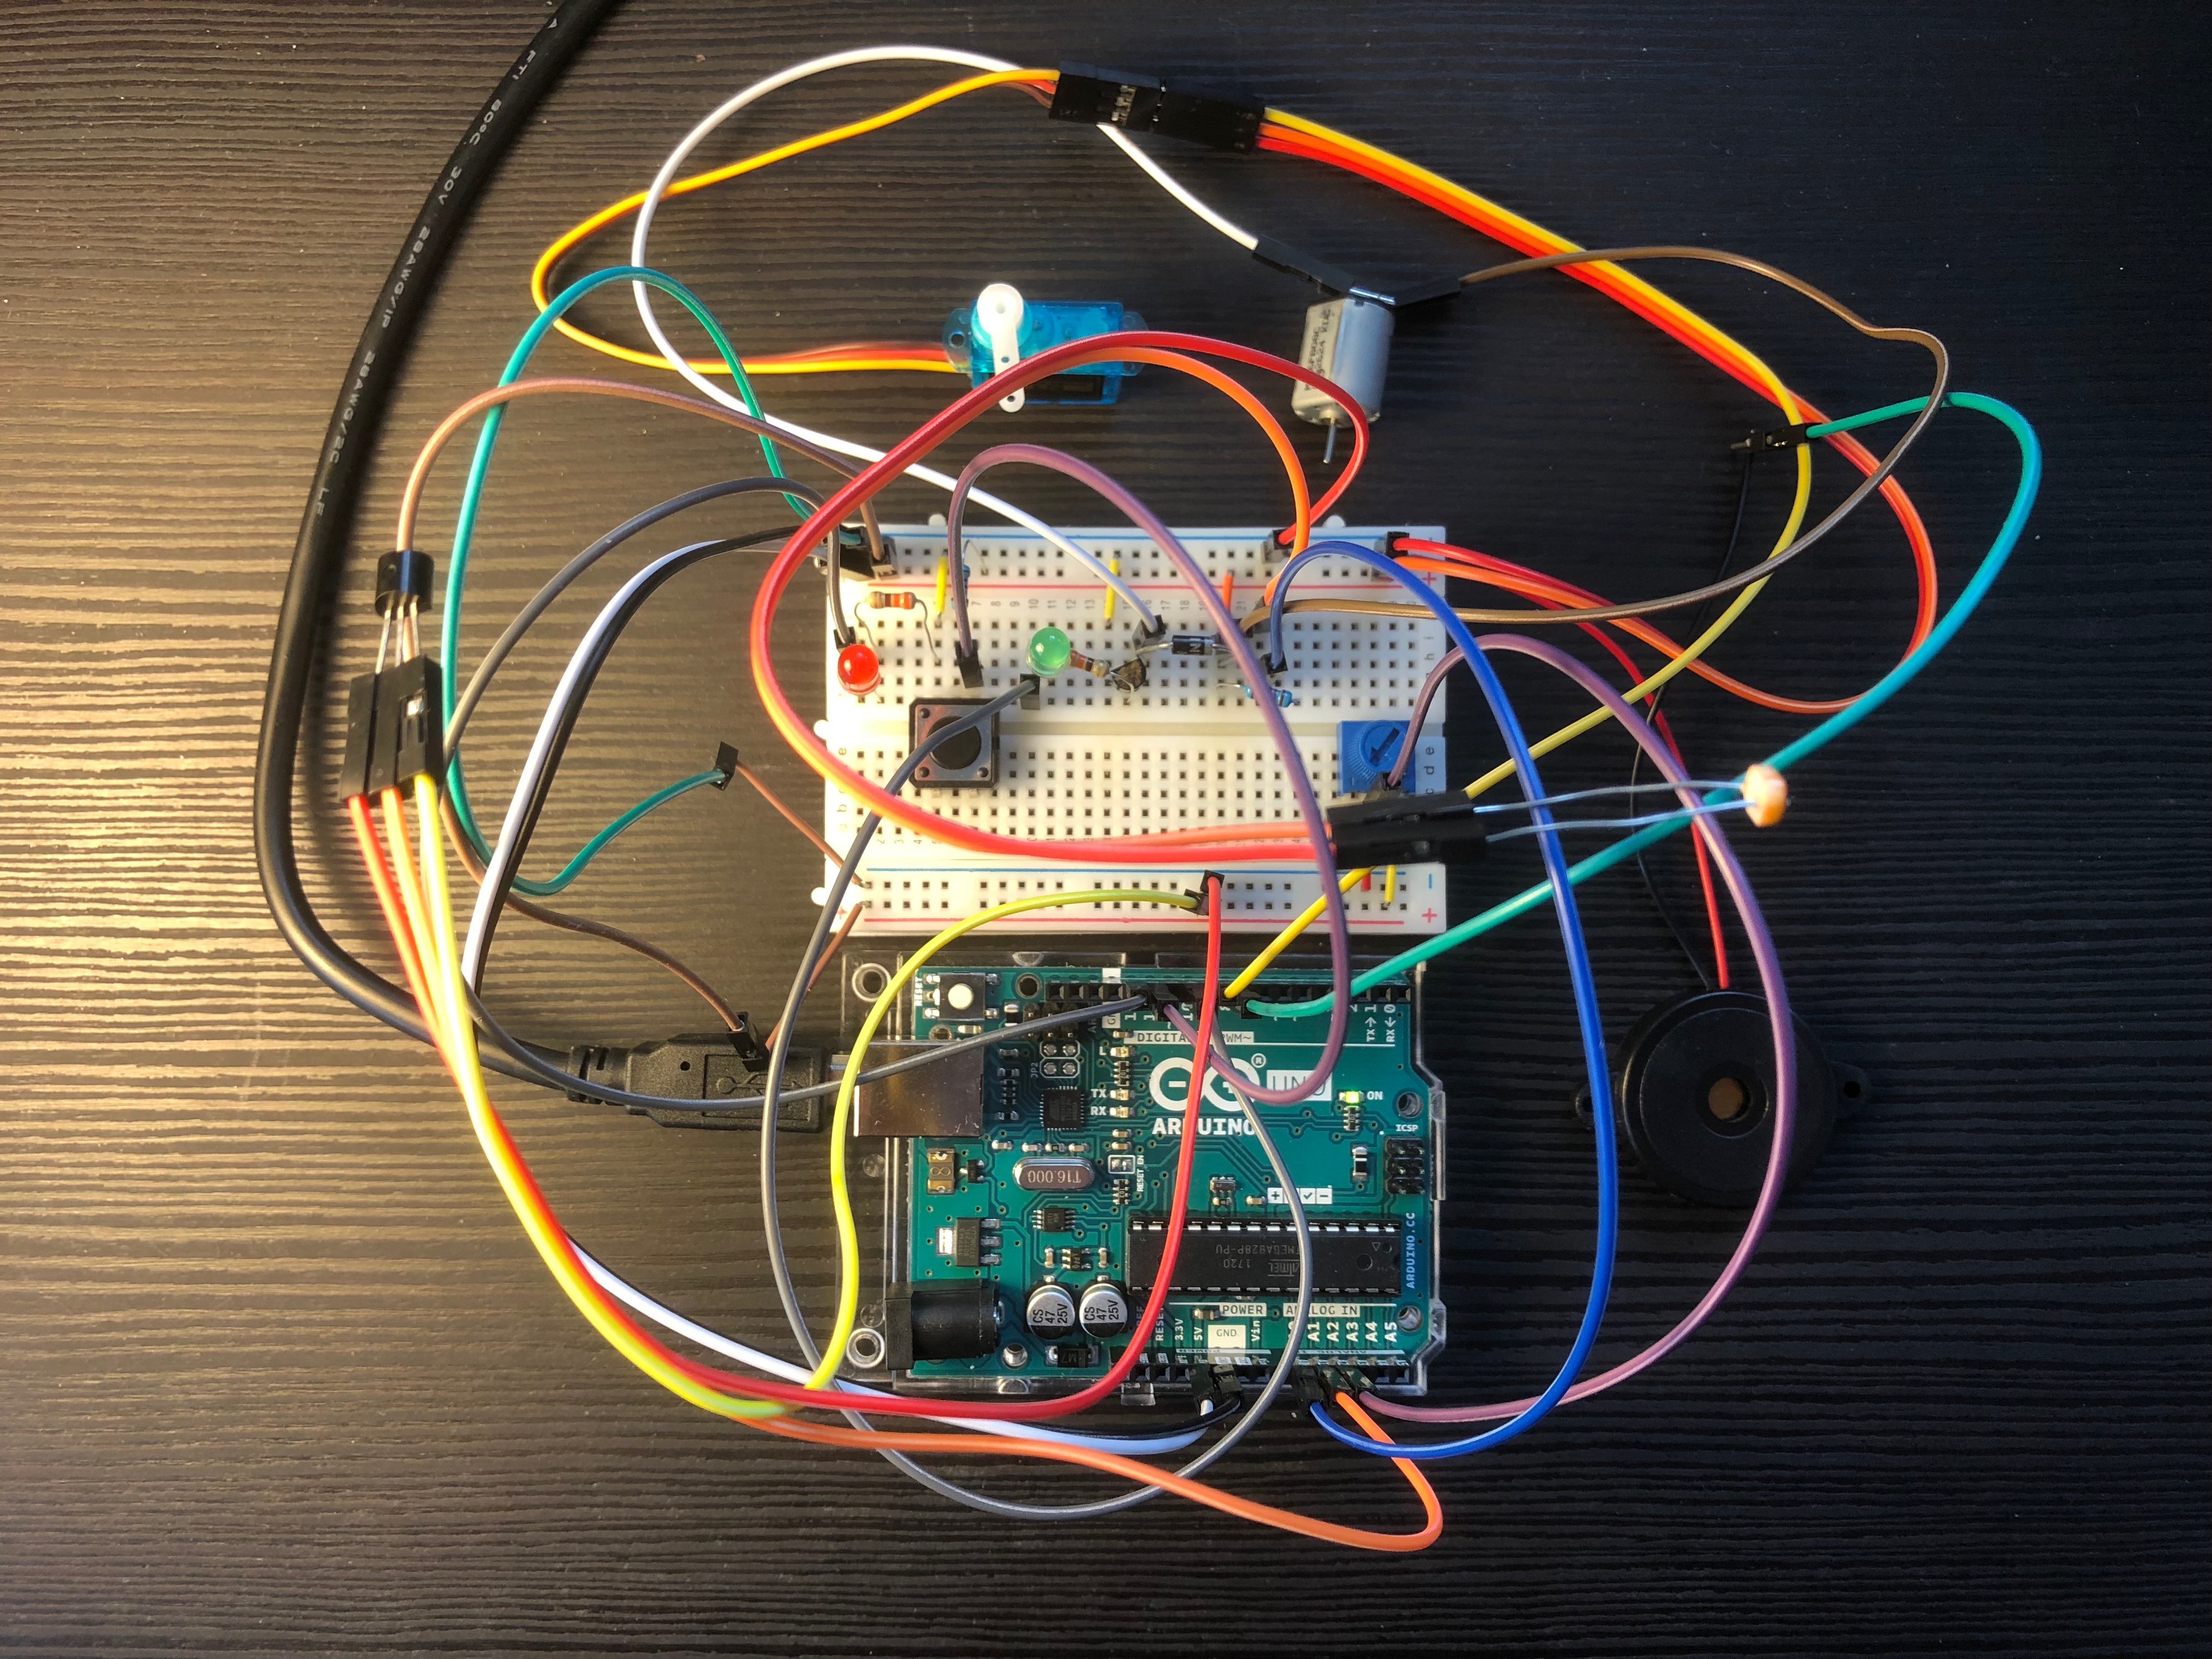
During the NodeBots Workshop at Conf & Coffee 2018, I had the opportunity to revisit the basics and experiment with the open-source Johnny-Five platform using an Arduino Uno. Johnny-Five, a Node.js library, facilitates JS programming for a wide range of development boards, with a focus on robotics and IoT applications. It relies on the Firmata protocol to communicate with microcontrollers, and offers compatibility with custom boards too.
Getting Started
Let’s explore some of Johnny-Five’s capabilities by first creating a simple LED blinking program:
var five = require('johnny-five');
var board = new five.Board();

board.on('ready', function () {
    var led = new five.Led(13);
    led.blink(1000); // in ms
});
As you can see, minimal code is required!
In addition to basic output control, Johnny-Five makes it easy to handle asynchronous events from various inputs. For example, here’s how you can toggle an LED using a button press:
var five = require('johnny-five');
var board = new five.Board();

board.on('ready', function () {
    var led = new five.Led(13);
    var button = new five.Button(5);

    button.on("press", function() {
        led.toggle();
    });
});
You can also utilise Johnny-Five for sensor inputs, such as a photoresistor:
var five = require('johnny-five');
var board = new five.Board();

board.on('ready', function () {
    var led = new five.Led(13);
    var sensor = new five.Sensor("A0");

    sensor.on("change", function() {
        if(this.value > 600) { led.on(); }
        else { led.off(); }
    });
});
These simple examples demonstrate the ease of integrating hardware input-output with Johnny-Five. At no point did we need to write code for the round-robin loop, tune the loop frequency, configure data direction registers or mask the right pins with bit manipulation.
Client-Server Interaction
One surprising feature of Johnny-Five for me was its ability to create client-server scenarios effortlessly. For instance, you can set up a UDP client using Node.js on your developer machine to communicate with an Arduino server via USB:
var dgram = require('dgram');
var client = dgram.createSocket('udp4');

// Send empty datagrams over port 1337
client.send("", 1337, 'localhost', function(err) {
    console.error("Failed to send. Is your Arduino running 'server.js'?\n");
    client.close();
});
On the Arduino side, you can create a server to respond to incoming datagrams or trigger actions, such as playing a tune over a connected piezo speaker:
var dgram = require('dgram');
var five = require('johnny-five');
var board = new five.Board();

board.on('ready', function () {
    var piezo = new five.Piezo(8);
    var server = dgram.createSocket('udp4');

    server.on('message', function() {
        piezo.play({
            song: [
                ["C4", 1 / 4],
                ["D4", 1 / 4],
                ["F4", 1 / 4],
                ["D4", 1 / 4],
                ["A4", 1 / 4],
                [null, 1 / 4],
                ["A4", 1],
                ["G4", 1],
                [null, 1 / 2],
                ["C4", 1 / 4],
                ["D4", 1 / 4],
                ["F4", 1 / 4],
                ["D4", 1 / 4],
                ["G4", 1 / 4],
                [null, 1 / 4],
                ["G4", 1],
                ["F4", 1],
                [null, 1 / 2]
            ],
            tempo: 100
        });
    });

    server.bind(1337);
});
On a similar note, I experimented with dnode, an asynchronous RPC system for Node.js that facilitates remote function calls. A client, running on a developer’s machine, connects to a server and calls a remote getTemperature function:
var dnode = require('dnode');

var d = dnode.connect(1337);
d.on('remote', function(remote) {
    remote.getTemperature(function(t) {
        console.log("Temperature is: " + t + "\n");
        d.end();
    });
});
On the Arduino server, a temp variable is continuously updated with the latest temperature from a connected sensor. The server also handles remote calls to its getTemperature function, executing the console.log callback provided by the client. Here’s the server code:
var dnode = require('dnode');
var five = require('johnny-five');
var board = new five.Board();

board.on('ready', function () {
    var therm = new five.Thermometer({
        controller: "TMP36",
        pin: "A0",
    });

    var temp = null;
    therm.on("change", function() {
        temp = this.C;
    });

    var server = dnode({
        getTemperature: function(cb) {
            cb(temp);
        }
    });
    server.listen(1337);
});
These two examples, one with UDP sockets and the other with RPC, showcases the versatility of Johnny-Five in facilitating client-server communication for interactive hardware applications.
Debugging with Console
When debugging Arduino projects, the REPL (Read-Eval-Print Loop) proves to be a valuable tool. It facilitates seamless communication between your Arduino device and the Node.js terminal on your computer, enabling you to send and receive debug commands and messages. Let’s dive into an example of using the REPL to control an LED and log the result:
var five = require("johnny-five");
var board = new five.Board();

board.on("ready", function() {
    var led = new five.Led(13);

    this.repl.inject({
        // Allow limited on/off control access to the LED instance from the REPL.
        on: function() {
            led.on();
            console.log("LED is on");
        },
        off: function() {
            led.off();
            console.log("LED is off");
        }
    });
});
Executing the following commands in your Node.js terminal will turn the LED on and then off:
> on()
LED is on
> off()
LED is off
While this example may seem trivial, it effectively showcases the power of real-time logging and interactive code execution of your Arduino from your terminal, and the ease in setting it all up.
Closing
I hope this summary provides a glimpse into the capabilities of Johnny-Five. With its user-friendly interface, it serves as an ideal platform for swiftly prototyping and implementing projects. If you’re feeling inspired, feel free to explore my workshop code.